
Timber Screw Spacing Calculator: Get Your Fasteners Right, First Time (No More Wonky Joists)
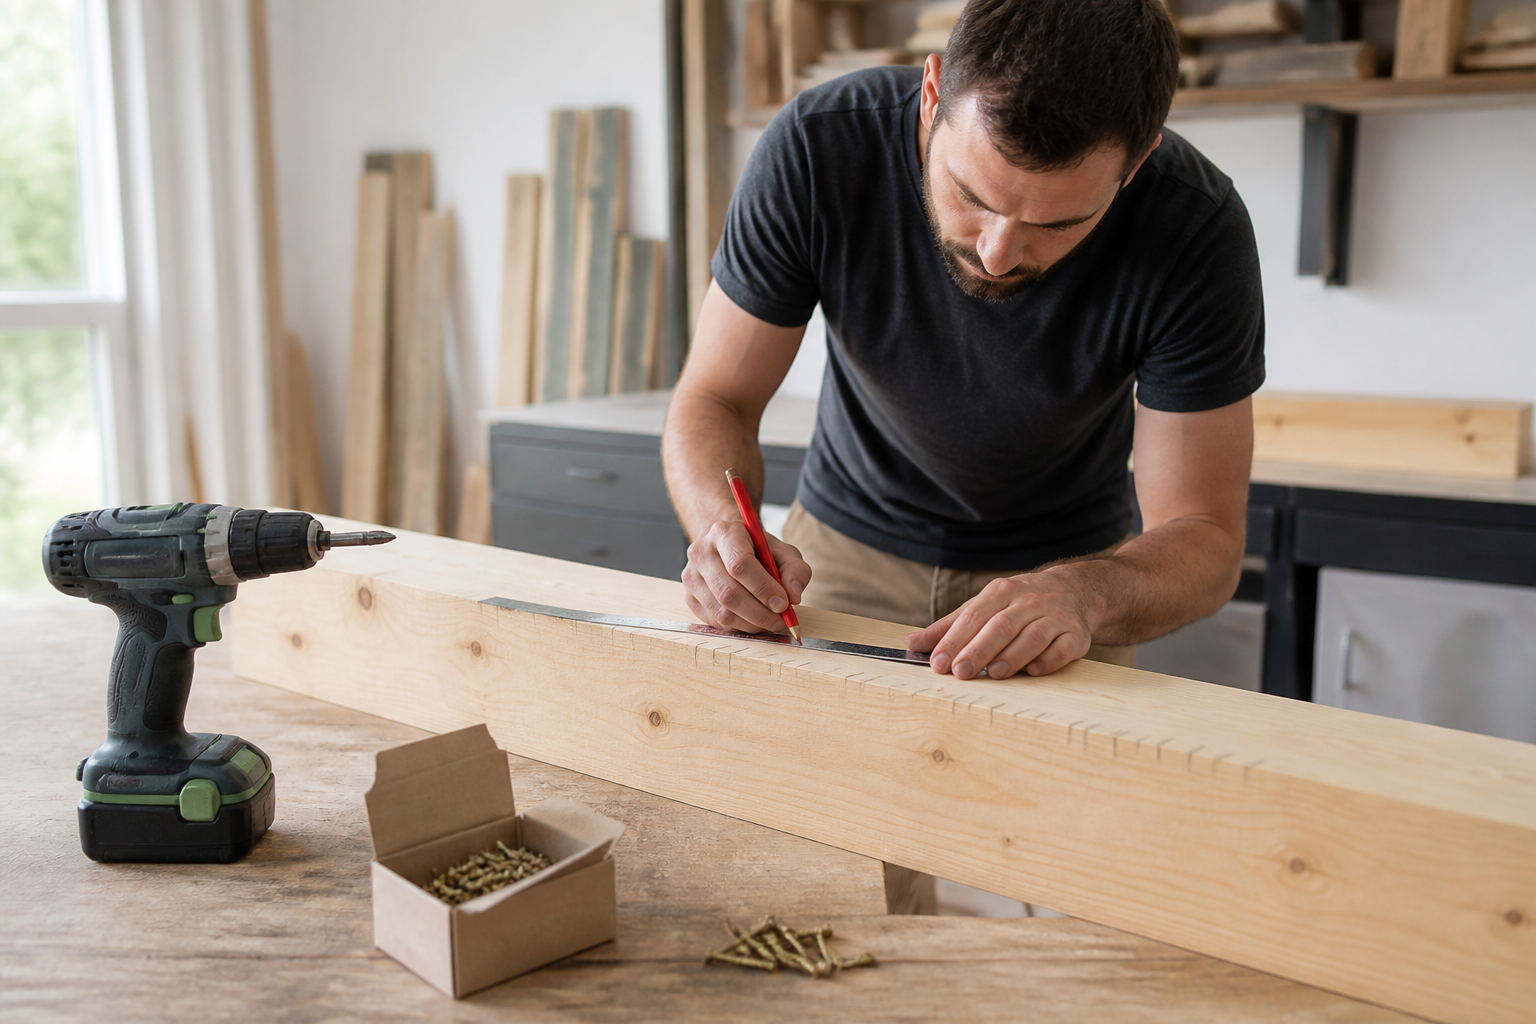
Ever got halfway through screwing down some decking boards and realised your spacing looks like it was measured by a toddler with a tape measure? Don't worry—you're not the first to make that mistake, and you won't be the last. But if you want your timber (lumber) work to look sharp AND stay standing, getting your screw spacing right is about as important as tea on site. Let's get you sorted with the right numbers, the right method, and a few tricks so you don’t end up explaining a wobbly fence to the client—or worse, your in-laws.
Why Timber Screw Spacing Matters (and Why Guessing Isn’t Good Enough)
Here’s the bit most people get wrong: screw spacing isn’t just about looks. Too far apart and your boards flex like a trampoline at a toddler’s birthday. Too close together, and you’re wasting screws (and money)—plus, you risk splitting the timber (lumber) like a cheap garden chair in a rainstorm. Proper spacing:
- Spreads the load evenly
- Prevents twisting, cupping and splitting
- Makes the job look professional (even if you’re DIYing)
Think of it like laying out fence posts: if you just eyeball it, you’ll end up with a wavy line only a snake would love.
Basic Rules for Timber Screw Spacing
Let’s cut to the chase. Here are the golden rules for screw spacing in timber (lumber) jobs:
- Standard boards (flooring, decking, cladding): Place screws 400mm to 600mm (16in to 24in) apart along the length of the board, aligned with joists or battens.
- Edge distance: Keep screws 15mm to 25mm (5/8in to 1in) from the edge to prevent splitting.
- End distance: Stay 40mm to 50mm (1.5in to 2in) from board ends for best hold.
- Pairs or singles: Use two screws per joist/batten for boards wider than 100mm (4in); use one for narrower boards.
Quick Reference Table
| Board/Timber Width | Screw Spacing Along Board | Edge Distance | End Distance |
|---|---|---|---|
| Up to 100mm (4in) | 400-600mm (16-24in) | 15mm (5/8in) | 40mm (1.5in) |
| Over 100mm (4in) | 400-600mm (16-24in) | 25mm (1in) | 50mm (2in) |
Remember, local codes or timber supplier recommendations always win—so double-check if it’s something structural.
Worked Example: Decking Board Screw Layout (Metric & Imperial)
Let’s say you’re fixing 3.6m (12ft) decking boards, each 140mm (5.5in) wide, onto joists spaced every 450mm (18in).
Step 1: Calculate screws per board:
- Board length: 3.6m (12ft)
- Joist spacing: 450mm (18in)
- Number of joists = 3.6m / 0.45m = 8 joists (12ft / 1.5ft = 8 joists)
- Two screws per joist (board is wider than 100mm/4in): 8 joists x 2 = 16 screws per board
Step 2: For 10 boards, you’ll need:
- 16 screws x 10 = 160 screws total
Step 3: Always add 10% for wastage—the spare tea bags of the screw world.
- 160 x 1.1 = 176 screws (round up to the next box if buying packs)
So for 10 decking boards, each 3.6m (12ft) long, you’ll need around 176 screws, spaced every 450mm (18in) along the joists, two per joist. Simple, reliable, and no last-minute dash to the merchant.
Choosing the Right Screw Size (and How Deep to Go)
Bet the merchant never told you this: the wrong screw length is what makes those "it felt solid at the time" jobs sag after a winter. Here’s the pro rule of thumb:
- Length: At least 2/3 to 3/4 of the screw’s length should go into the supporting timber (lumber).
- Diameter/gauge: Use 4mm to 5mm (#8 to #10) for most general timber jobs.
Example:
- Fixing a 22mm (7/8in) thick decking board to a joist? Use a 50mm (2in) screw. That gives you about 28mm (1 1/8in) of screw in the joist—plenty for a firm hold and not so long that you’re poking out the other side.
Common Timber Sizes & Matching Screw Lengths
| Timber Thickness | Recommended Screw Length |
|---|---|
| 22mm (7/8in) decking | 50-65mm (2-2.5in) |
| 38mm (1.5in) framing | 75mm (3in) |
| 45mm (1.75in) rails | 75-90mm (3-3.5in) |
| 50mm (2in) joists | 90mm (3.5in) |
If you’re dealing with hardwood, go up a gauge, and always drill a pilot hole—unless you fancy splitting the timber and your own patience.
Timber Screw Spacing: Step-by-Step for Any Project
- Check your timber size and type.
- Measure joist/batten spacing (or supports)—typically 400-600mm (16-24in).
- Mark out screw positions along the board, keeping to edge/end distances.
- Choose the right screw length and gauge for the job (see table above).
- Add 10% for wastage (dropped screws don’t count as “installed”).
- Double-check with a timber screw spacing calculator (if you want to be belt-and-braces about it).
Avoiding the Common Screw-Ups (Pun Intended)
Here’s a tip from someone who’s had to rip up and redo more boards than he’d care to admit:
- Don’t mix metric and imperial halfway through the job. It’s like measuring the room in feet and buying timber in metres—and hoping for the best. Always pick one system and stick to it.
- Pre-drill for hardwood. If you’re working with oak or similar, skip the brute force and go for pilot holes.
- Don’t over-tighten. Screws that bite too hard can snap or strip the timber. Tighten until just flush.
- Use corrosion-resistant screws outdoors. Stainless or coated—unless you like the look of rusty streaks.
Questions People Are Actually Asking
How to determine wood screw size?
Choose your screw size based on two things: the thickness of the timber you’re fixing, and what you’re fixing it to. As a rule, you want at least two-thirds of the screw length to be embedded in the supporting timber. For most jobs, 4mm to 5mm diameter (#8 to #10 gauge) does the trick.
How much screw should go into wood?
The sweet spot is having two-thirds to three-quarters of the screw length sunk into the supporting wood—not just the board you’re fixing. So, for a 75mm (3in) screw, aim for 50mm (2in) embedded in the joist or batten.
How deep should screws go into wood?
Screws should go deep enough that two-thirds of their length are in the supporting timber. Too shallow, and it’ll work loose; too deep, and you risk poking through or splitting the wood. For a 50mm (2in) screw, about 33mm (1.25in) into the support is a good guide.
How far should screws go into wood?
In other words: how long is too long? If the screw pokes out the back, you’ve gone too far! As above, two-thirds to three-quarters of the length into the support is ideal. Always check both the thickness of your board and your joist so you don’t end up with screws poking through where you don’t want them.
How to size wood screws?
Measure the thickness of your board, then multiply by at least 2.5 for your screw length. For a 20mm (3/4in) board: 20mm x 2.5 = 50mm (2in) screw. Go up a size for hardwoods or heavy-duty jobs.
What size screws for 45mm timber?
For 45mm (1.75in) thick timber, a 75mm to 90mm (3in to 3.5in) screw is usually spot on. Make sure at least 50mm (2in) is embedded in the supporting timber for serious holding power.
Conclusion: Don’t Let Dodgy Spacing Ruin Your Build
Screw spacing isn’t just about looking the part—get it right, and your timber project will last for years, stand up to the weather, and pass the old knock-on-it-with-your-knuckles test. Use the guidance above, check your measurements twice, and if you want the no-mistakes route, try using a timber screw spacing calculator before you order or start fixing. Trust me, nobody has ever finished a job saying they wish they’d bought less!
Free tools to put this into practice
Reading is one thing — working out your own numbers is what saves time and money. Here are the free HowMuchDoINeed calculators that pair best with this guide:
- Timber Fastener Spacing Calculator — work out exactly how much you need and what it will cost.
- Timber Fastener Spacing Calculator — get an instant materials estimate for your project.
- Calculate Timber Fastener Spacing — size up quantities and costs before you head to the merchant.
- Understanding Timber Fastener Spacing — plan your order so you avoid over- or under-buying.
Explore every free calculator on HowMuchDoINeed — no sign-up required.