
Timber Connection Calculator: Nail Your Spacing, Strength & Connector Choices First Time
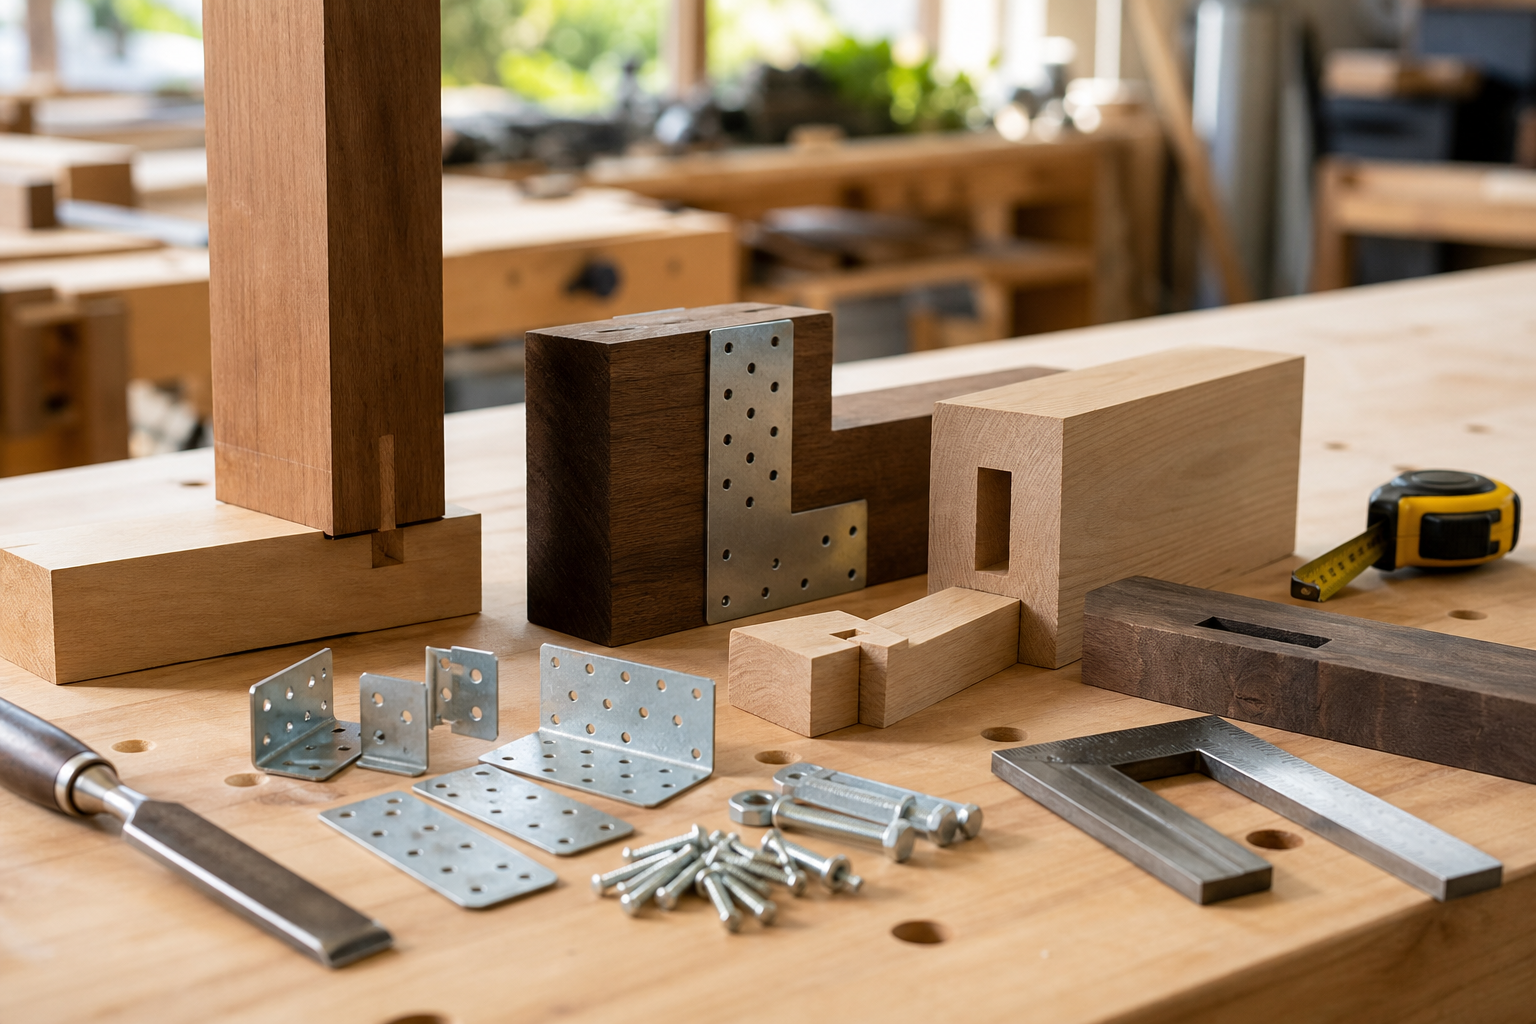
Get your timber connections wrong and the whole job unravels — sometimes literally. Whether you're decking out the garden, throwing up a shed, or tackling a timber frame extension, the fixings holding it all together deserve as much thought as the timber itself. In this guide you'll find the main connector types, what makes one stronger than another, how to space them so the wood doesn't split, and a worked example in both metric and imperial. There's also a full FAQ for the questions that come up on every job.
Types of Timber Connections
Not all connections are created equal. Here's a quick rundown of what's in the toolbox:
- Mechanical Fixings: Screws, nails, bolts, coach screws, and dowels — the bread and butter of most timber jobs.
- Metal Connectors: Plates, angles, joist hangers, and truss connectors that reinforce joints and carry load at specific points.
- Traditional Joints: Mortise and tenon, lap joints, dovetails, finger joints — the kind of thing your joiner grandfather would recognise immediately.
- Adhesive Bonding: Glues and resins, almost always used alongside mechanical fixings rather than instead of them.
Quick Comparison Table
| Connection Type | Typical Use | Strength | Common Materials |
|---|---|---|---|
| Screws & Nails | General fixing | Medium | Steel, galvanised |
| Bolts & Coach Screws | Heavy structural joints | High | Steel, zinc plated |
| Metal Plates/Hangers | Joist/truss support | High | Galvanised steel |
| Traditional Joints | Furniture, joinery | Variable | Timber/wood |
Choosing the Right Connection for Strength
Here's the thing about connection strength — it's never just about the fixing itself. Four factors work together:
- Type of connector: Bolts and metal plates beat nails and screws hands down for heavy loads.
- Timber grade: Fewer knots, straighter grain — higher grade timber makes for stronger, more reliable connections.
- Timber size: Bigger sections handle more load and can take larger fixings without complaint.
- Connector spacing: Get this wrong and you're asking the timber to split. Get it right and the load spreads safely across the joint.
For anything load-bearing, always follow local building regulations or take structural engineer advice. That's not a box-ticking exercise — it's what keeps the roof where it belongs.
Spacing Tips for Timber Connectors
Think of connector spacing like the studs on a pair of boots — too close together and they interfere with each other, too far apart and you lose grip. Here are the general rules to work from:
- Edge Distance: Keep connectors at least 2.5 times the connector diameter from the timber edge (e.g., 50mm for a 20mm bolt).
- End Distance: Place connectors at least 7 times the diameter from the end of the timber (e.g., 140mm for a 20mm bolt).
- Spacing Between Connectors: Space bolts/nails at least 5 times the diameter apart (e.g., 100mm for a 20mm bolt).
Always refer to the manufacturer's instructions and applicable building codes for the exact requirements on your project.
Worked Example: Calculating Timber Connection Spacing
Let's make this concrete. Say you're using M12 bolts (12mm diameter) to connect two 47mm x 150mm joists.
Metric:
- Edge distance: 2.5 x 12mm = 30mm
- End distance: 7 x 12mm = 84mm
- Spacing between bolts: 5 x 12mm = 60mm
Imperial:
- M12 ≈ ½ inch diameter
- Edge distance: 2.5 x ½" = 1.25"
- End distance: 7 x ½" = 3.5"
- Spacing between bolts: 5 x ½" = 2.5"
So your first bolt sits at least 84mm (3.5") from the end, 30mm (1.25") from the edge, and each subsequent bolt at least 60mm (2.5") from the last. Simple enough once you've run through it once — like following a recipe you've cooked before.
How to Joint Timber: Quick Guide
- Mark out your joints: Pencil and square. Measure twice, cut once — you know the drill.
- Choose your connector: Bolts or metal plates for structural work; screws or nails for lighter jobs.
- Drill pilot holes: Slightly smaller than your connector diameter. Skipping this step is a reliable way to split timber you've just paid for.
- Fix in place: Spanner for bolts, screwdriver for screws. Don't overtighten — crushing timber fibres helps nobody.
How to Use Timber Connectors and Plates
- Connector Plates: Metal plates with pre-punched holes. Position over the joint and fix through the holes with screws or nails. Straightforward once you've done it once.
- Joist Hangers: Attach to the main beam or wall using heavy-duty nails or bolts, then drop the joist in. They do the heavy lifting so the timber doesn't have to rely on end-grain fixing alone.
- Truss Connectors: Used at truss joints — follow the manufacturer's instructions for the number and position of fixings. This isn't the place to freestyle.
For project-specific calculations, try our timber connection calculator to work out the number and spacing of connectors you'll need.
Cost Considerations: Timber and Fixings
Timber costs shift depending on species, grade, length, and section size — and fixings and connectors add their own chunk on top. As a rough guide, softwood carcassing timber may range from £2 to £4 per metre, but prices move with the market and vary by region. Think of that figure as a ballpark, not a quote. Always check with your supplier or merchant for current pricing, and use our timber calculator for accurate quantity and cost estimates before you commit to anything.
Questions People Are Actually Asking
How much timber do I need?
Measure the length, width, and number of sections your project requires, then run the numbers through a timber calculator for a quick, reliable estimate based on your actual dimensions and project type. Far better than guessing and making two extra trips to the merchant.
How much does timber cost per metre?
Standard softwood carcassing typically runs between £2 and £4 per metre in the UK. Hardwoods or treated timber will cost more — sometimes significantly. Your local supplier is the only reliable source for current rates.
How much does timber cost?
It depends on wood type (softwood vs hardwood), grade, size, and what the market's doing. Get quotes from your merchant and use a timber calculator to estimate total project costs before you start ordering.
How to joint timber?
Timber can be jointed using mechanical fixings (nails, screws, bolts), metal connectors (plates, hangers), or traditional wood joints (mortise and tenon, lap joints). The right method depends on the load the joint needs to carry and where it sits in the structure.
How to use timber connectors?
Position the connector over the joint, align it correctly, and secure with the appropriate fixings — nails, screws, or bolts — following the manufacturer's instructions for placement and quantity. Don't guess at the number of fixings; the spec sheet exists for a reason.
How to use timber connector plates?
Place the metal connector plate over the timber joint, line up the pre-punched holes, and secure with the specified nails or screws. Make sure the plate sits in full contact with both pieces of timber and that fixings are evenly distributed for consistent strength.
Conclusion
Get your timber connections right and you've got a structure that'll outlast most of the people who walk past it. Choose the right connector for the load, stick to the spacing guidelines, and always cross-check against local codes or manufacturer's recommendations. When you're ready to crunch the actual numbers, our timber connection calculator takes the guesswork out of planning your project.
Free Tools to Put This Into Practice
Reading is one thing — working out your own numbers is what saves time and money on site. Here are the free HowMuchDoINeed calculators that pair best with this guide:
- Timber Fastener Spacing Calculator — work out exactly how much you need and what it will cost.
- Fence Post Spacing Calculator — work out exactly how much you need and what it will cost.
- Deck Joist Spacing Calculator — work out exactly how much you need and what it will cost.
- Stud Spacing Calculator — work out exactly how much you need and what it will cost.
Explore every free calculator on HowMuchDoINeed — no sign-up required.